본 포스팅에서는 pytorch의 torchvision을 활용하여 범용적으로 사용하는 데이터셋을 다운로드하고 이를 시각화 및 분석해 보겠다.
torchvision
torchvision은 컴퓨터 비전에서 많이 사용되는 데이터셋, 모델 아키텍처, 이미지 변환 등의 함수들을 제공하는 pytorch 라이브러리이다.
torchvision의 세 가지 중점적인 기능 중 오늘은 데이터셋에 대해 말해보겠다.
torchvision.datasets를 활용하여 오픈 데이터셋을 다운로드할 수 있으며, 컴퓨터 비전에서 많이 사용되는 오픈 데이터셋으로는 MNIST, CIFAR10, CIFAR100, STL10, SVHN 등이 있다.
위 데이터셋들 중 MNIST, CIFAR10, STL10, SVHN을 직접 다운로드해 보고 시각화 및 분석을 할 예정이다.
| MNIST | CIFAR10 | STL10 | SVHN | |
| 종류 | 숫자 | 사물 | 사물 | 숫자 (도로 주소 표지판) |
| 학습데이터 수량 | 60000 | 50000 | 5000 | 73257 |
| 테스트데이터 수량 | 10000 | 10000 | 8000 | 26032 |
| 이미지 크기 | (1, 28, 28) | (3, 32, 32) | (3, 96, 96) | (3, 32, 32) |
| 클래스 수 | 10 | 10 | 10 | 10 |
MNIST
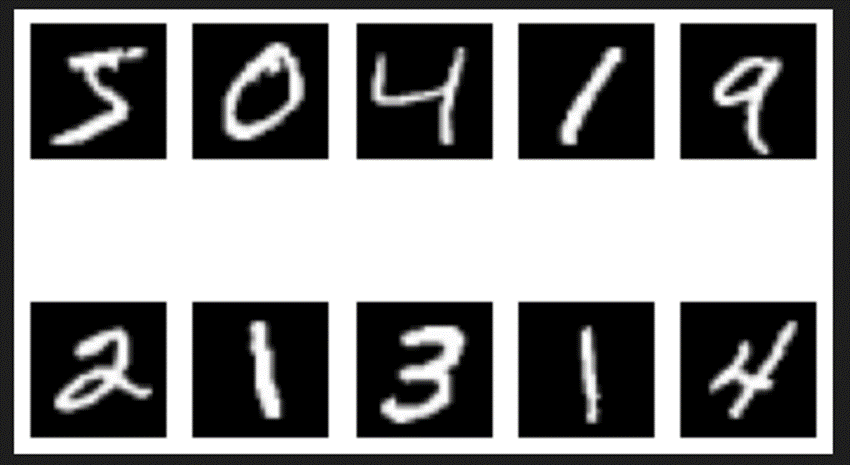
MNIST는 손으로 써진 0~9까지의 숫자 데이터셋이며 이미지들은 이진 영상이다.
아마 머신러닝 혹은 딥러닝을 접할 때 가장 먼저 다뤄봤을 데이터셋이다. 그만큼 간단하고 직관적이다.
torchvision.dataset.MNIST()을 사용하면 손쉽게 다운로드할 수 있다.
import torchvision
import torchvision.transforms as transforms

# MNIST
mnist_train = torchvision.datasets.MNIST(root='./torchvision_data', train=True, download=True, transform=transforms.ToTensor())
mnist_test = torchvision.datasets.MNIST(root='./torchvision_data', train=False, download=True, transform=transforms.ToTensor())
안의 인자들은 다음의 목적에 맞게 입력하면 된다.
root : 데이터를 저장할 경로
train : True (training set), False (test set)
download : 다운로드 여부
transform : transformation 방법
위 코드를 입력하면 아래 그림과 같이 다운로드된다.

MNIST 데이터 수량은 다음과 같다.
Training : Test = 60000 : 10000
print('train set len:', len(mnist_train))
print('test set len:', len(mnist_test))

# train set len: 60000
# test set len: 10000
이미지의 사이즈와 라벨의 클래스에 대해 살펴보자.
import numpy as np

labels = []

for n, (img,label) in enumerate(mnist_train):
    if n <= 9:
        print('MNIST img shape:',img.shape, '//', 'Label:', label)
        continue
    labels.append(label)

print()
print('Labels:',np.unique(labels))
이미지 출력 크기는 [1, 28, 28]이며 라벨 클래스는 [0, 1, 2, 3, 4, 5, 6, 7, 8, 9]로 이뤄져 있다.

이제 10개 정도 시각화 해보자.
import matplotlib.pyplot as plt

for n, (img,label) in enumerate(mnist_train):
    plt.subplot(2,5,n+1)
    plt.imshow(img.squeeze(),'gray')
    plt.axis('off')

    if n == 9:
        break
CIFAR10
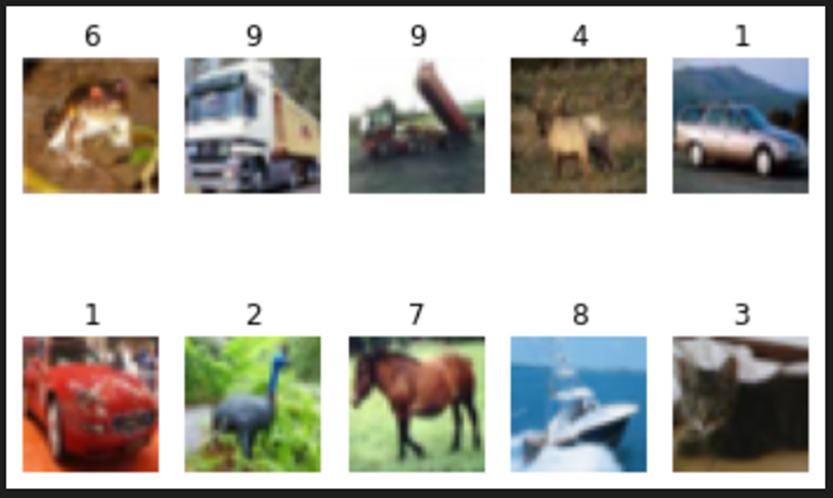
CIFAR10은 색이 들어간 3 채널 이미지로 이뤄져 있으며 10개의 사물 클래스가 라벨로 구성되어 있다.
CIFAR100은 100개의 클래스이며 해당 클래스들은 아래 링크를 통해 확인할 수 있다.
CIFAR10:
GitHub - RubixML/CIFAR-10: Use the famous CIFAR-10 dataset to train a multi-layer neural network to recognize images of cats, do
Use the famous CIFAR-10 dataset to train a multi-layer neural network to recognize images of cats, dogs, and other things. - GitHub - RubixML/CIFAR-10: Use the famous CIFAR-10 dataset to train a mu...
github.com
CIFAR100:
GitHub - MartinThoma/algorithms: This repository is for learning and understanding how algorithms work.
This repository is for learning and understanding how algorithms work. - GitHub - MartinThoma/algorithms: This repository is for learning and understanding how algorithms work.
github.com
MNIST와 마찬가지로 "torchvision.datasets.CIFAR10"를 통해 다운로드해서 시각화 및 분석을 해보자.
# CIFAR10
cifar10_train = torchvision.datasets.CIFAR10(root='./torchvision_data', train=True, download=True, transform=transforms.ToTensor())
cifar10_test = torchvision.datasets.CIFAR10(root='./torchvision_data', train=False, download=True, transform=transforms.ToTensor())
print('train set len:', len(cifar10_train))
print('test set len:', len(cifar10_test))
# train set len: 50000
# test set len: 10000
labels = []
for n, (img,label) in enumerate(cifar10_train):
if n <= 9:
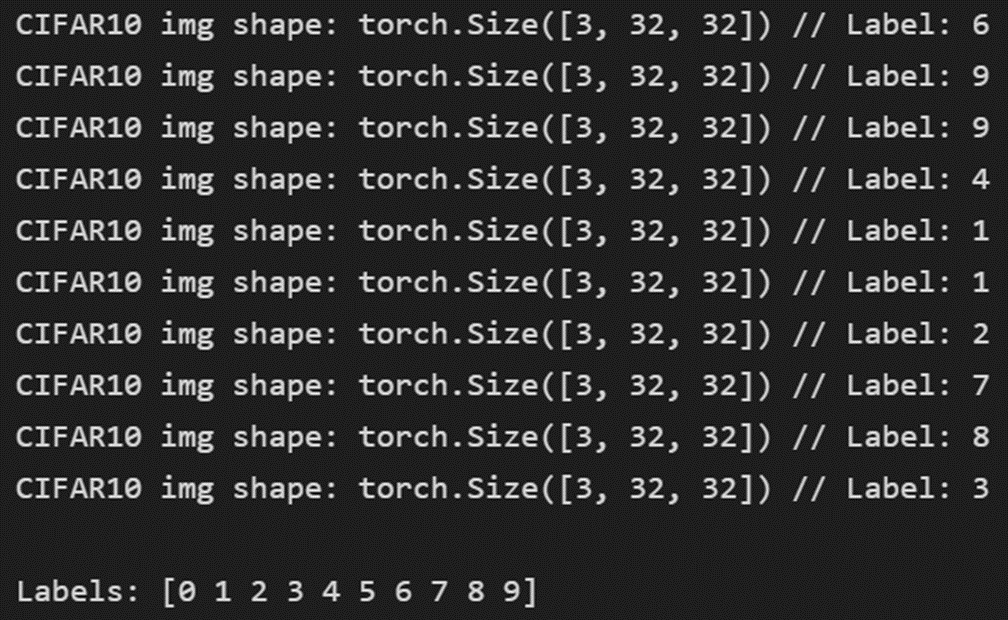
print('CIFAR10 img shape:',img.shape, '//', 'Label:', label)
continue
labels.append(label)
print()
print('Labels:',np.unique(labels))
영상의 크기는 [3, 32, 32]이며 라벨 클래스는 [0, 1, 2, 3, 4, 5, 6, 7, 8, 9]로 이뤄져 있다.
MNIST와 다른 점은 binary 이미지가 아니라 3 채널 컬러 이미지라는 것이다. 또한 0~9까지의 라벨은 숫자 그대로의 의미가 아닌 각 사물에 숫자를 정의한 것이다.
CIFAR10 데이터 수량은 다음과 같다.
Training : Test = 50000 : 10000
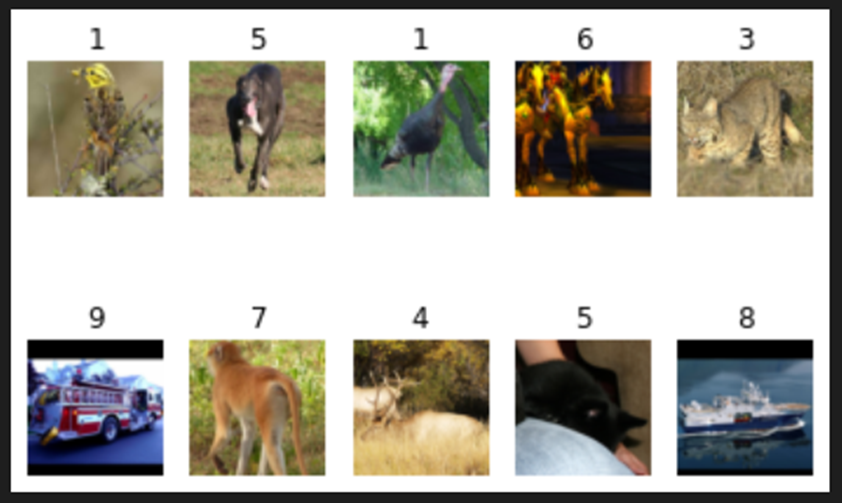
CIFAR10 데이터도 시각화를 진행해 보자.
for n, (img,label) in enumerate(cifar10_train):
    plt.subplot(2,5,n+1)
    plt.imshow(np.transpose(img,(1,2,0)),'gray')
    plt.title(label)
    plt.axis('off')

    if n == 9:
        break
해상도는 낮지만 각 사물을 시각화할 수 있으며, 각 사물에 숫자 라벨링이 되어 있는 것을 확인할 수 있다.
STL10
비전에서 많이 사용되고 데이터 수량이 방대한 ImageNet이라는 데이터셋이 있다. 다만 toy project를 하거나 작은 규모의 데이터셋을 활용하고 싶을 때 ImageNet은 과유불급이다.
이를 위해 ImageNet의 작은 버전으로 10가지 클래스만 사용하는 STL10이 있다.
STL10도 위 예시들과 동일하게 진행해 보자. ("torchvision.datasets.STL10")
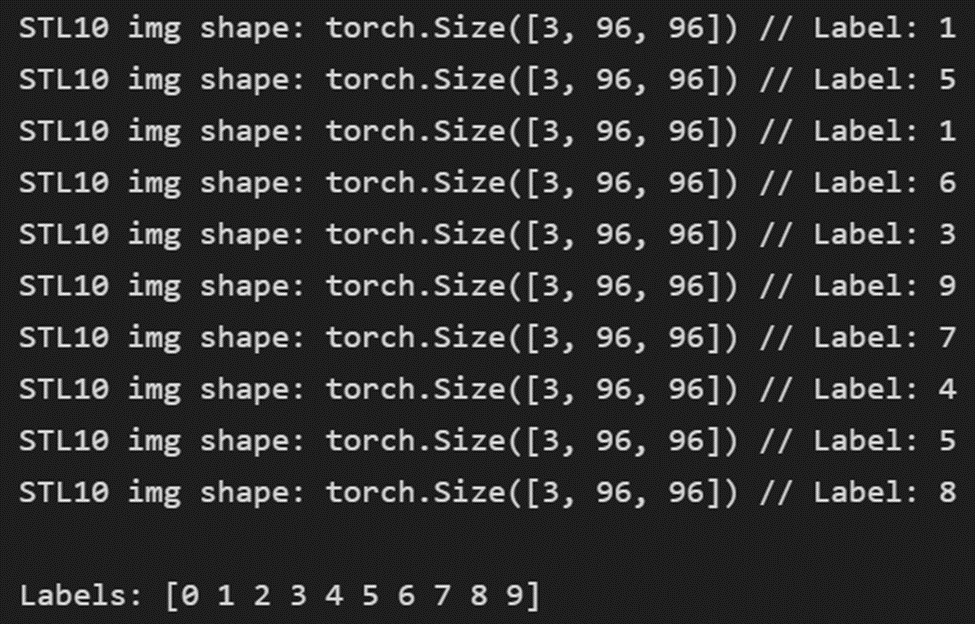
CIFAR10와 3개의 채널로 동일해 보이지만 96 크기의 이미지로 비교적 해상도가 높다. 또한 클래스도 다르다. (CIFAR10 : class 1은 자동차, STL10: class 1은 bird)
STL10 데이터 수량은 Training : Test = 5000 : 8000 이다.
SVHN
마지막은 SVHN이다. SVHN은 도로 주소 표지만에 적힌 숫자들을 모아놓은 데이터셋이다.
바로 다운로드 후 시각화 해보자. ("torchvision.datasets.SVHN")
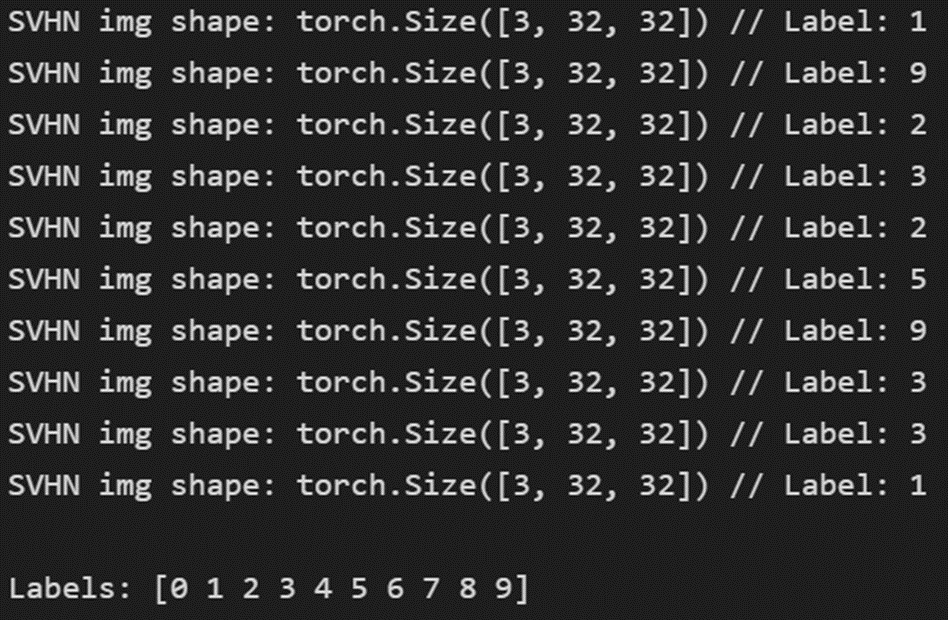
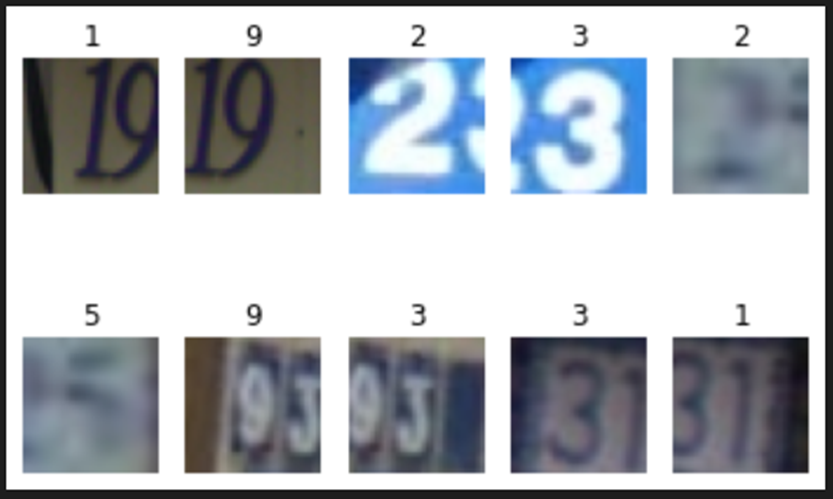
SVHN의 이미지는 CIFAR와 동일하게 [3, 32, 32]의 크기를 갖고 있다. 라벨은 MNIST와 동일하게 0~9까지 숫자를 갖고 있다.
SVHN데이터 수량은 Training : Test = 73257 : 26032이다.
위 예시들을 통해 진행하고자 하는 프로젝트의 목적에 맞게 데이터 선정을 하면 된다. 또한 torchvision.dataset을 활용하여 손쉽게 데이터를 다운로드하고 학습데이터와 테스트데이터를 분리하여 사용하자.
'Deep Learning > Pytorch' 카테고리의 다른 글
| [Pytorch] Dataloader의 num_workers와 memory의 연관성 (0) | 2023.02.22 |
|---|

댓글